Amazon Blink Mini Camera Settings
Before We introduced "Amazon Blink Mini Camera Unboxing", Today We will briefly introduce the settings of the Amazon Blink Mini camera.
In fact, the current development of smart camera technology can make the Camera settings easier and more convenient than before. We can find the support information about the instructions on how to set up the Blink Mini camera from Blink's website.
How to set up Amazon Blink Mini camera
I had a chance to personally set up Amazon Blink Mini camera , so here are a few key steps to record.
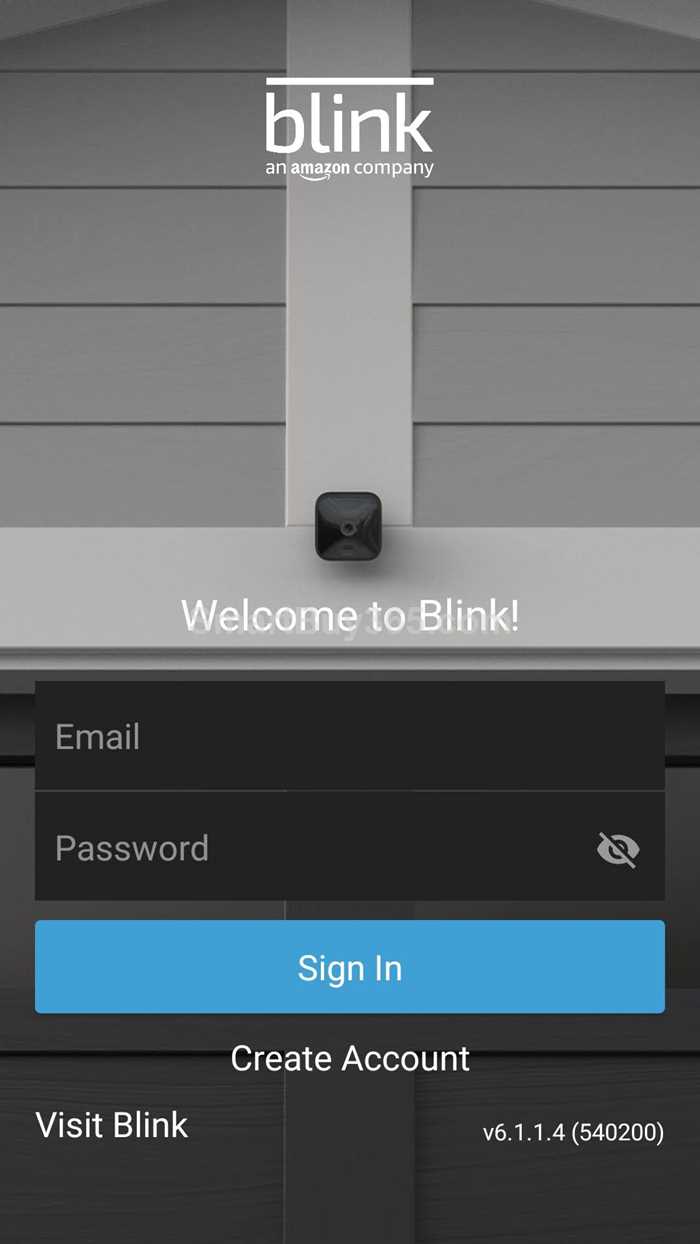
1: First, we need to download the Blink App on the mobile phone, after installing the App, we need to create an account with our valid email, a confirmation code will be sent to your email for verification.
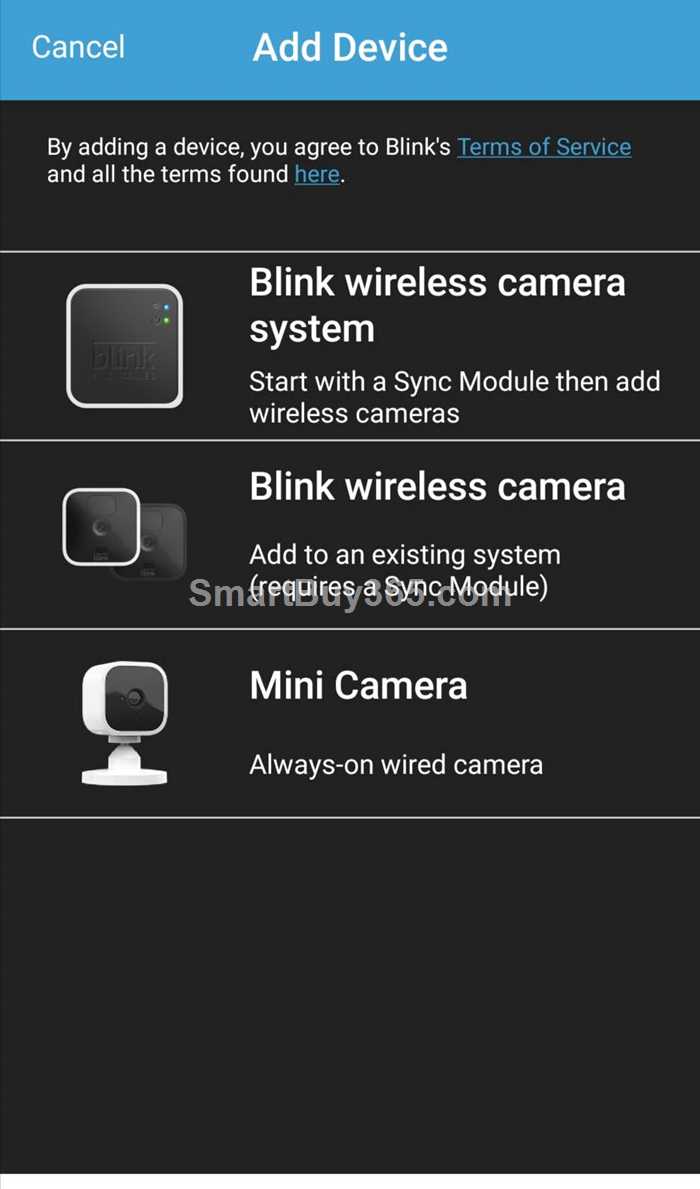
2: After creating an account, we login to the account. Now we can add the camera. We bought a Blink Mini, so we choose Mini Camera. At this time, we need to enter the SN serial number of the Camera. The serial number is on the back of the camera. We can either manually enter the serial number, or simply scan the QR code on the back of the camera with a mobile phone.
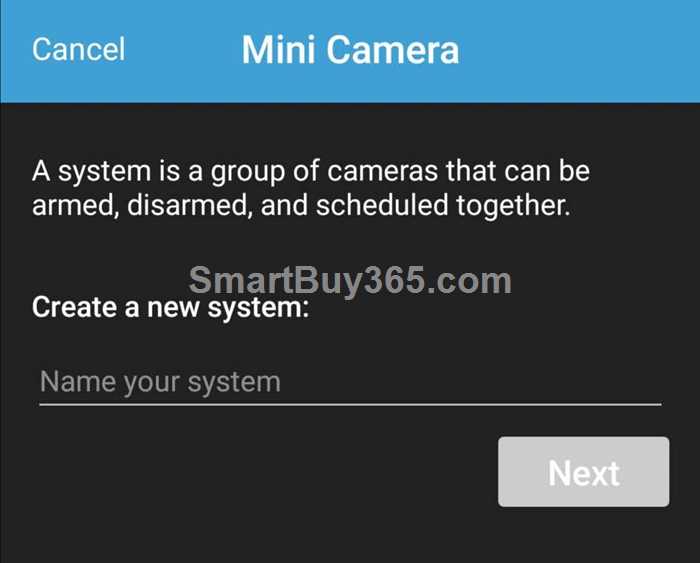
3: Blink App may prompt us whether we want a new System, this System is equivalent to a Group, we can put multiple cameras into a group (i.e. a System).
4: Now we can plug in the Blink Mini. According to the UI message, we click the "Discover Device" button:
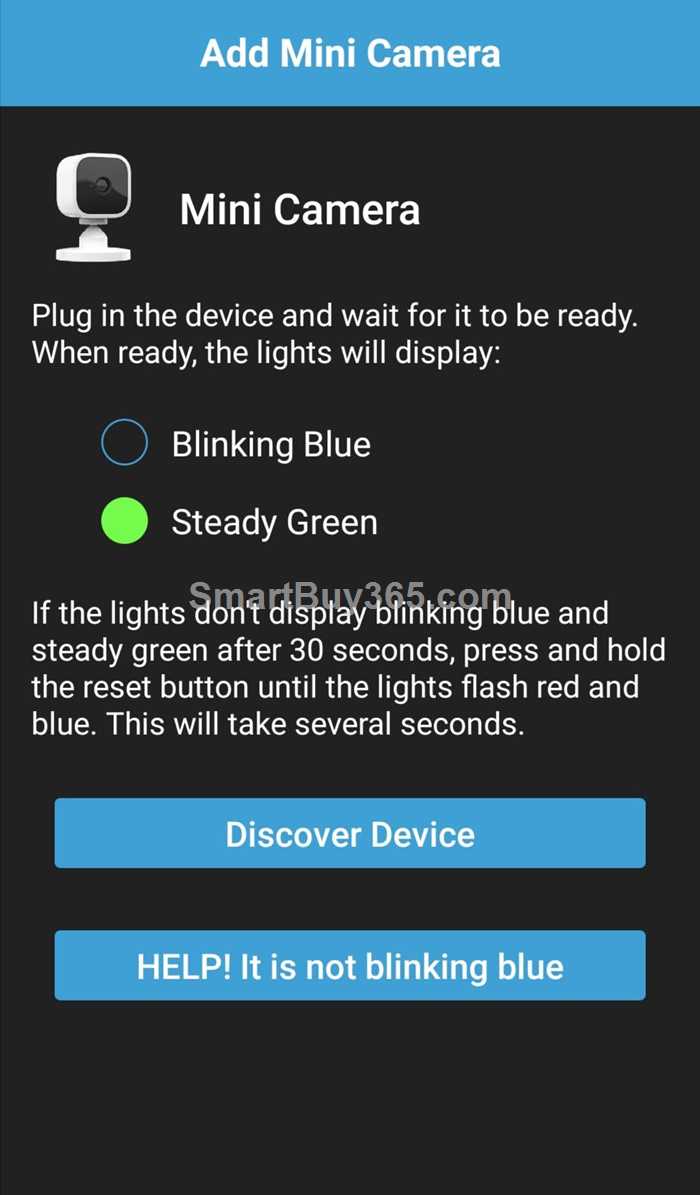
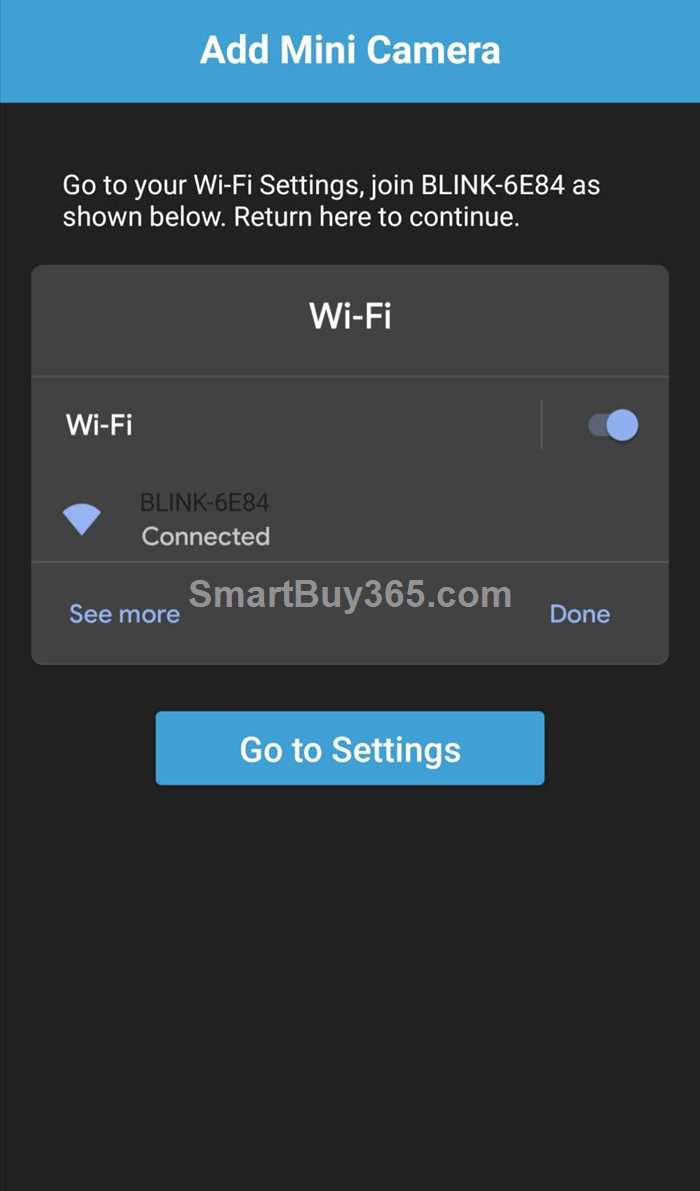
5: The Blink Mini camera will generate a temporary network called "BLINK-XXXX" at this time. We need to temporarily connect the mobile phone to the temporary network of the BLINK camera in order to setup somethings such as your home WiFi on the Blink Mini.
6: When the home WiFi is added, you will see that your current Blink Mini camera is newly added to your account:
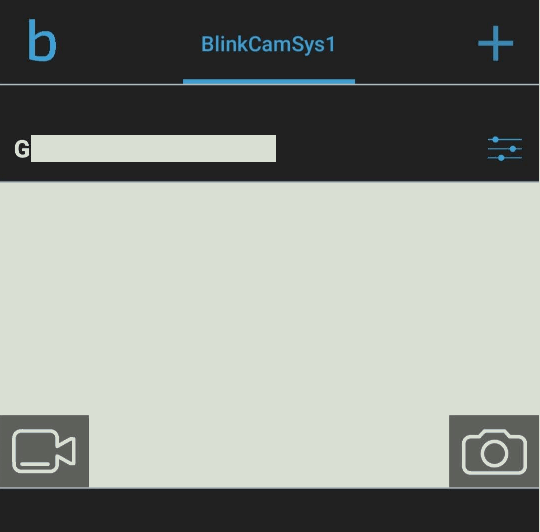
Now we can perform general camera operations. For example, real-time video viewing and taking pictures. You can also set motion detection, etc.
Where to Buy
Search
Site QR Code